

These days, more Android TV boxes are making it easier to update firmware by using FOTA – Firmware Over The Air. But sometimes that’s not an option.
If you only have a .img file, then an OTA firmware upgrade isn’t going to do you much good. Here’s how to install a new firmware image manually by using the Amlogic USB Burning Tool.
Things to think about
There are a few things to think about when updating your firmware manually.
- This process is specifically for Amlogic devices such as Cosycost android tv box. Each chipset manufacturer will have their own way of doing things. Be sure you’ve got an Amlogic-based device first.
- Never disconnect the power to your TV box while upgrading the firmware. This can “brick” the device and turn it into a really expensive paperweight.
- If your manufacturer provides a version of the Amlogic USB Burning Tool with the firmware download, then you should use that. They’ve tested it and made sure it works with that particular firmware upgrade.
- Always use the “Normal Erase” configuration option – unless you really know what you’re doing. If you choose to erase the MAC address, you could end up doing more harm than good.
- As is the case with any computer files, don’t go deleting things that you don’t absolutely know what they do. When in doubt….don’t.
Now that I’ve sufficiently scared you, let’s get started. 🙂
Believe it or not, the process is actually pretty easy.
If you need help finding your Android TV box firmware, you can check out our Android TV Box Firmware Guide here.
JUST GETTING STARTED?
Get up to speed quickly with my Getting Started with TV Boxes resource page. Check it out here or using the image below!

Download the Amlogic USB Burning Tool
I’ve set up a file share for the Amlogic USB Burning Tool v2.0.6.2 here: USB_Burning_Tool_v2.0.6.2_build2
The file will work in Windows 7, 8, 8.1, and 10, but it will need Administrator permissions in order to run. You will be making changes to system files on another device, so Windows wants to make sure you know what you’re doing, after all.
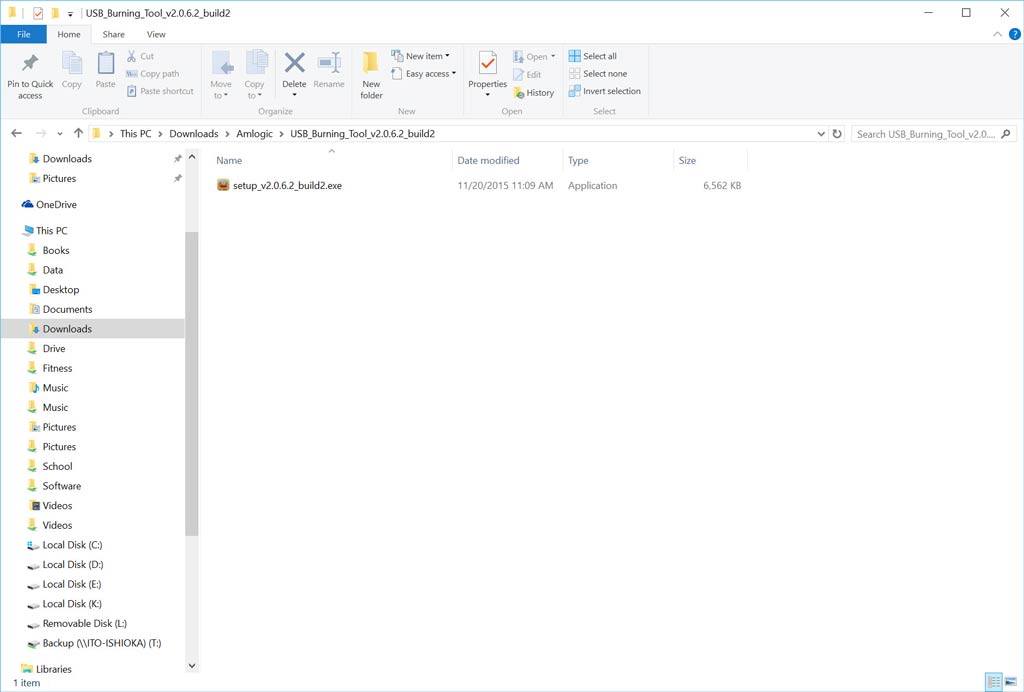
Once you download that file, extract it into a temporary directory. Here, I’ve set it up in my Downloads directory in Windows 10 and created a sub-directory called “Amlogic.”

Once you’ve extracted the file, you’ll see a Setup.exe file which will contain the version number. For this example, this is version v2.0.6.2, but that will certainly change as new versions are released. If you don’t have the latest version, don’t worry. There’s an update feature in the application itself.
Connect your Android TV box to your PC
Before installing the USB burning tool, I like to make sure my Android TV box is connected to my PC and powered on. During the installation process, the program will install the drivers that your PC will need to have in order to communicate with the TV box.
The reason I connect the TV box at this step is from personal experience with an old Tronsmart Vega S89. The upgrade process kept failing because the drivers were never installed. It turns out that all I had to do to fix the issue was keep the TV box connected and powered on during the installation process.
Lesson learned, so now it’s part of my routine.
Install the Amlogic USB Burning Tool on your PC
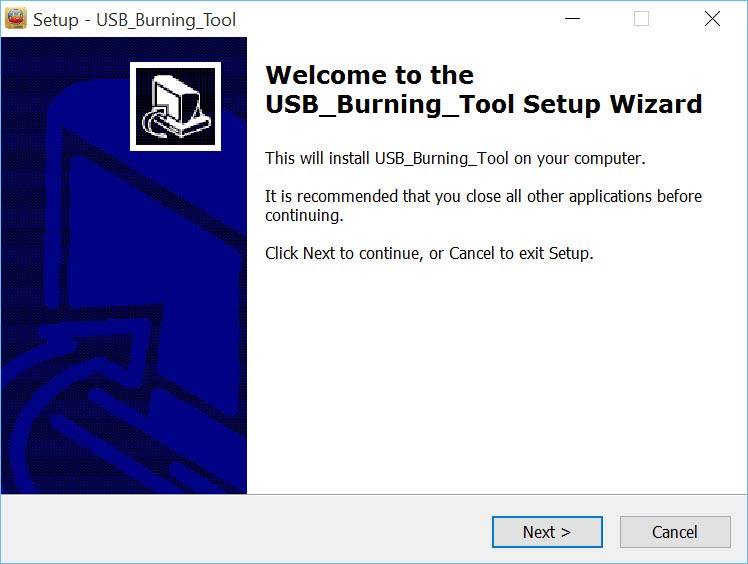
Installing the Amlogic USB Burning Tool is pretty straightforward on any Windows PC. The only minor hiccup I found was running across a “Windows protected your PC” message during the initial installation like the one below.
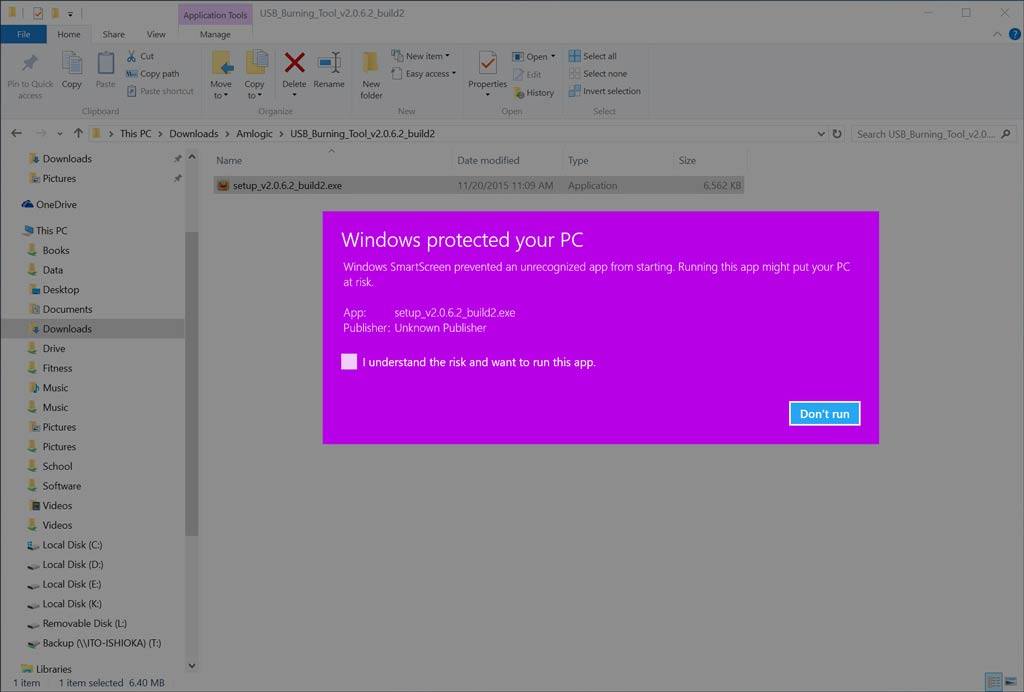
This may or may not happen to you, depending on your settings. I’ve installed this tool many times and only received this warning on the very last installation while taking screenshots for this writeup. I’m not sure if this is because of a recent Windows update, but I wanted to include it here, just to be complete.
You can check the box that says “I understand the risk and want to run the app” to continue.
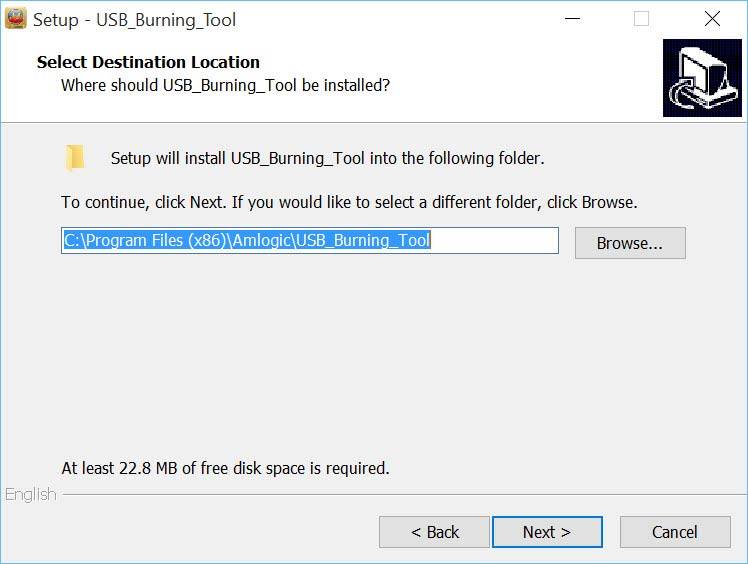
If you’ve installed anything on your PC before, this will look very familiar. You’re given the option of where you want to install the file…
And also if you want to create a Start Menu folder….
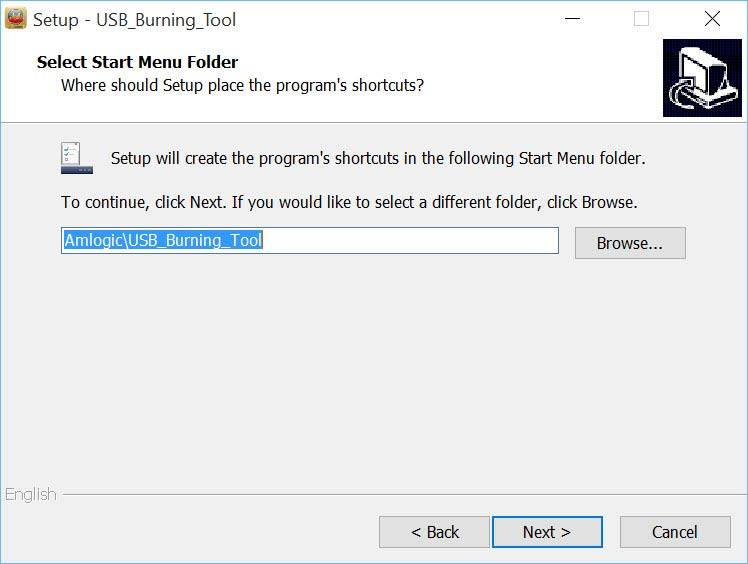
After selecting both options, you’re given a re-cap at the final step.
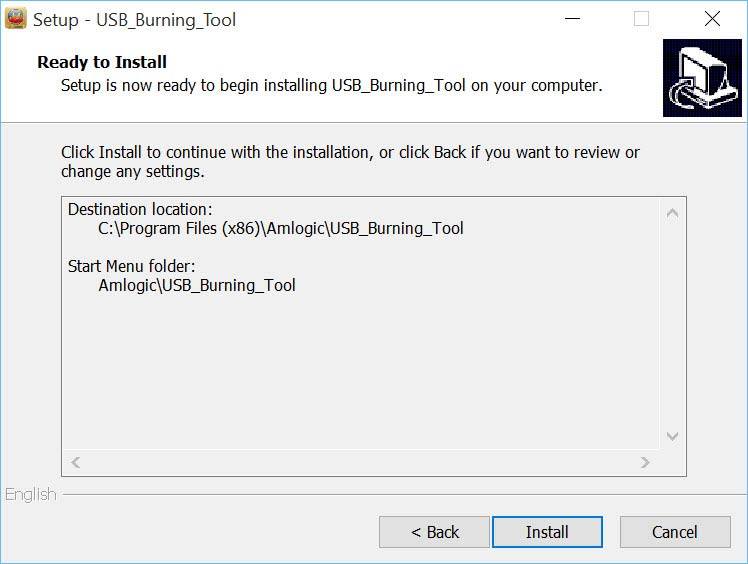
Click “Install” to start the process.
Driver Installation
Remember when I had you connect your TV box to your PC and turn it on?
Here’s where that becomes important.
Near the very end of the installation process, you’ll see a “Device Driver Installation Wizard” window pop-up, like the one below.
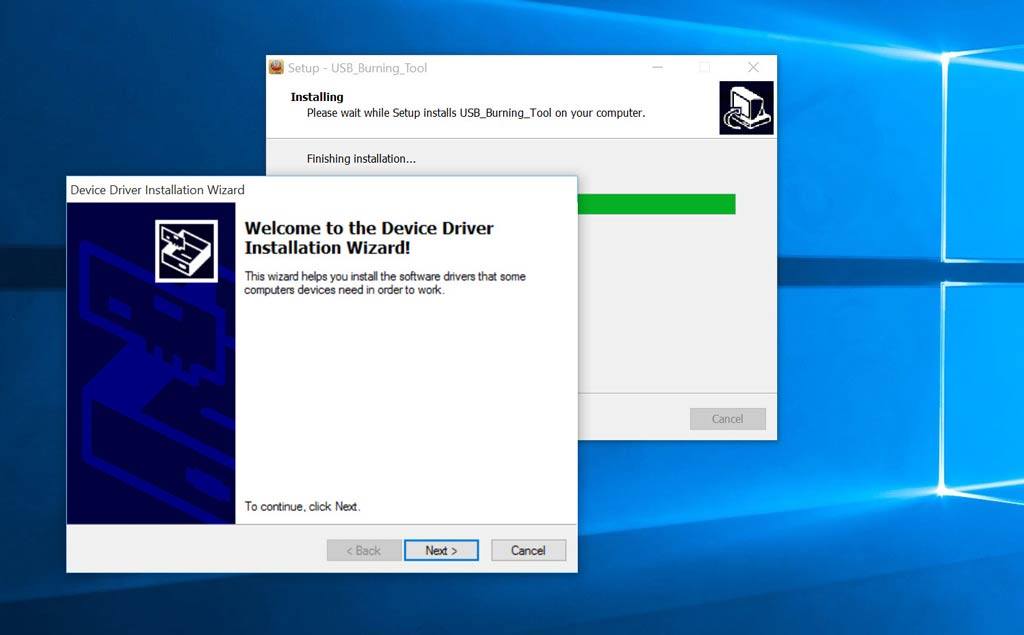
This is going to look at your system and make sure that you have the correct drivers installed. If you haven’t gone through this process before, you probably won’t have them. It’s not something Microsoft will install by default, after all.
Once the drivers have been installed, you’ll get one more screen that will tell you specifically which driver was installed.
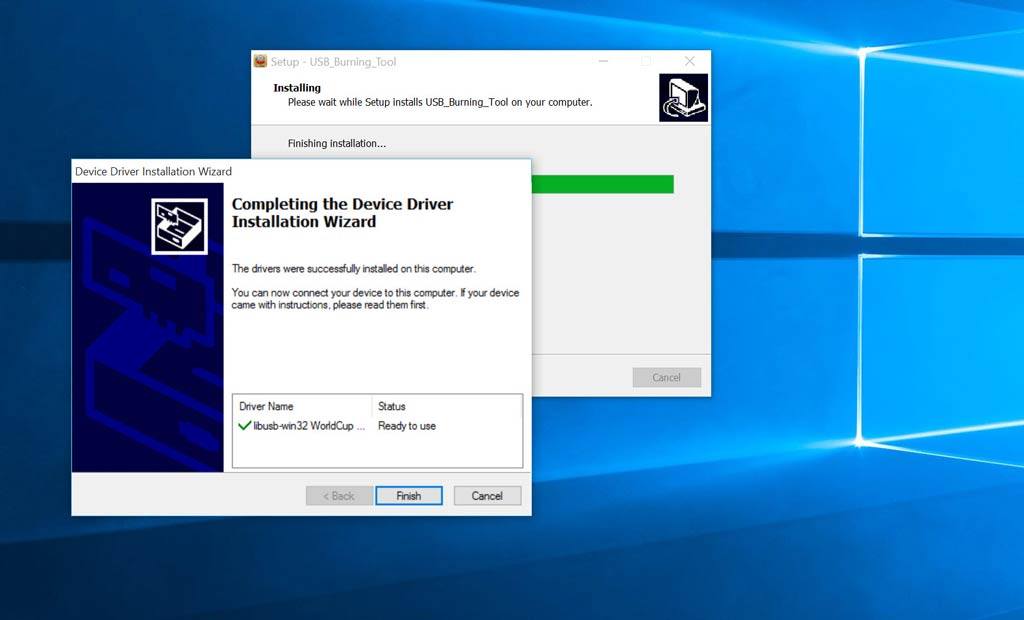
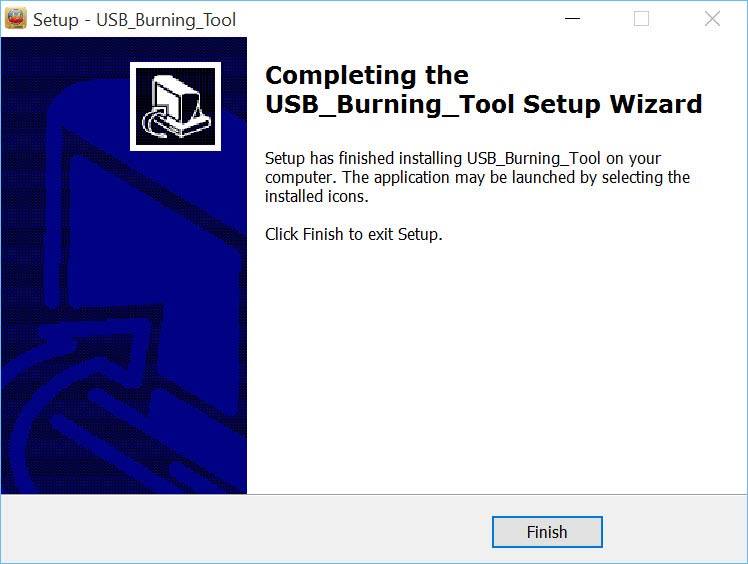
You can click “Finish” on that window and on the “Completing the Amlogic USB Burning Tool Setup Wizard” window that follows.
After that, go ahead and turn off your TV box. We’ll need it to be off so we can reboot it into Recovery Mode in the next section.
Time to update firmware!
OK. Here’s where the magic happens. Believe it or not, if everything went smoothly up to this point, the hard part is already done.
Open the Amlogic USB Burning Tool application

You should see a screen that looks very much like the one above. Nothing should appear underneath the “Device” or “Status” headings. If your device does happen to appear, that’s a good thing, and it means you can skip the next few steps. Don’t count on it though. There’s almost no reason why it should show up at this point since your TV box is powered down.
It is powered down, right?
Re-boot your TV box into Recovery Mode
As I mentioned before, your TV box was only powered up to make sure that the drivers were installed correctly, but it needs to be in Recovery Mode for this next part to work.
The challenge here is that each device is a little different in how it boots into recovery mode. Here are the two most common ones:
Option 1: Toothpick Method
This is the most common, “old-school” method of booting into recovery mode. On the back of the device, there is normally a small port labeled “Recovery.”
With the TV box powered down, find a long, thin, non-metal object. You want to make sure the pin or toothpick you use is non-conductive, just in case you touch an exposed wire or any other sensitive piece of hardware.
Insert the pin or toothpick into the port until you feel a button you can press. Don’t worry if this takes a little effort. It’s not supposed to be something that you “accidentally” press.
Once you find the button and press it, turn the TV box on while keeping the button depressed. This may take a bit of balance, so it’s helpful to have an extra set of hands for this process.
If everything goes correctly, you should see the device show up underneath the “Device” heading.
Option 2: Long-press the power button
Some devices, like the new MINIX NEO U1, dispense with the recovery button altogether. You can get Minix NEO from Amazon.
For these TV boxes, you can usually get to Recovery Mode by holding down the power button for 5-6 seconds.
Speaking as an end-user, this is a great improvement to the process.

Either way you choose, you should see the device appear with a “Connect Success” message, like in the image above.
Import Image
You’ll need to tell the Amlogic USB Burning Tool what image you want to use to upgrade your TV box.
I’ll say this again for emphasis: Be sure to only use an image that was designed for your particular device. Using the wrong firmware can “brick” your TV box!
Click on the File menu in the upper left-hand corner, and select Import Image.
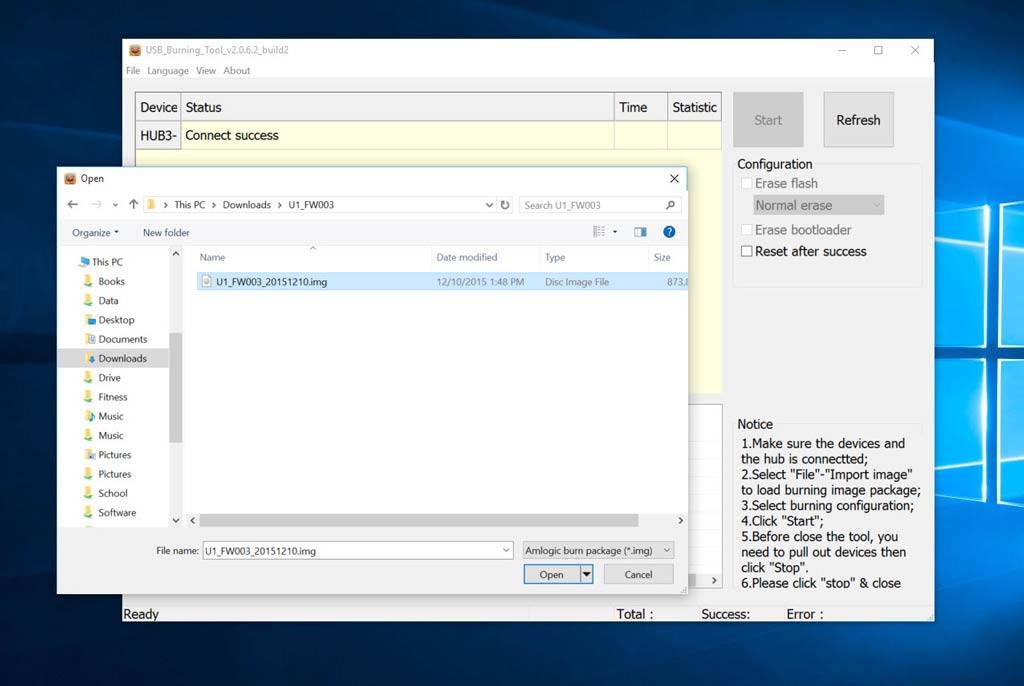
Then you’ll need to navigate to the location you saved the .img file and select it. Here I created a sub-folder for the U1 in my Downloads folder on my PC.
Start
On the right-hand side, you’ll see a large “Start” button with some options underneath. Select “Normal Erase” and click the Start button to begin the process.

The program will first check the file to make sure it hasn’t been corrupted someplace along the line. This process should take anywhere from a few seconds to a few minutes, depending on the speed of your PC.
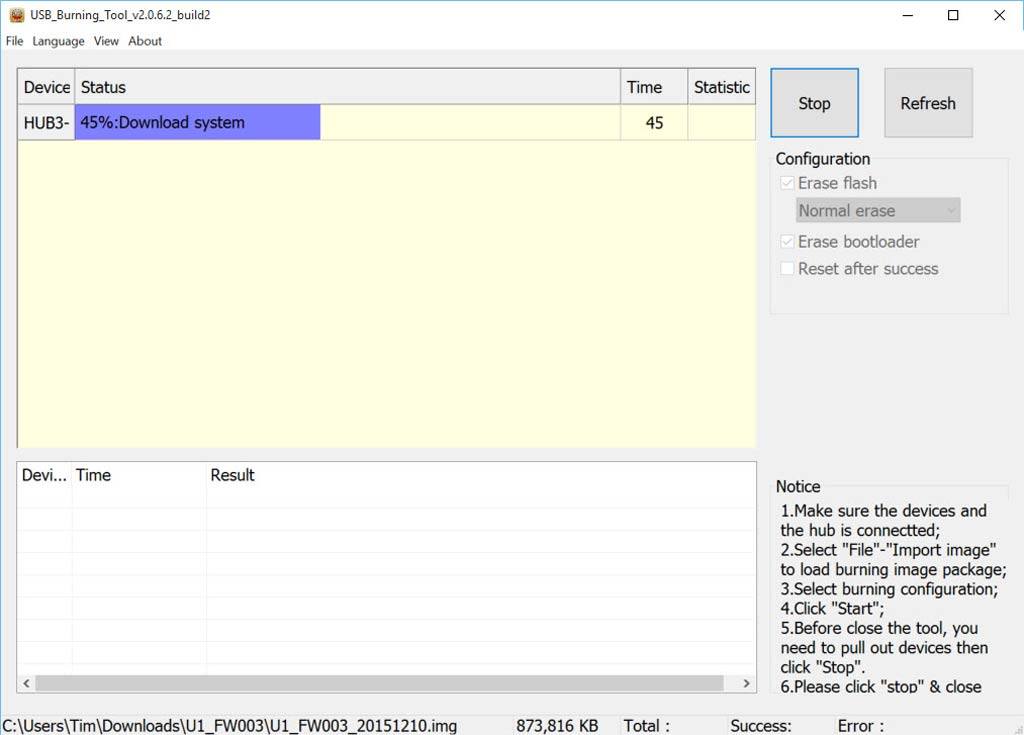
The status bar will change and give you a general idea of what file is being modified, as well as how long the entire process has taken so far.
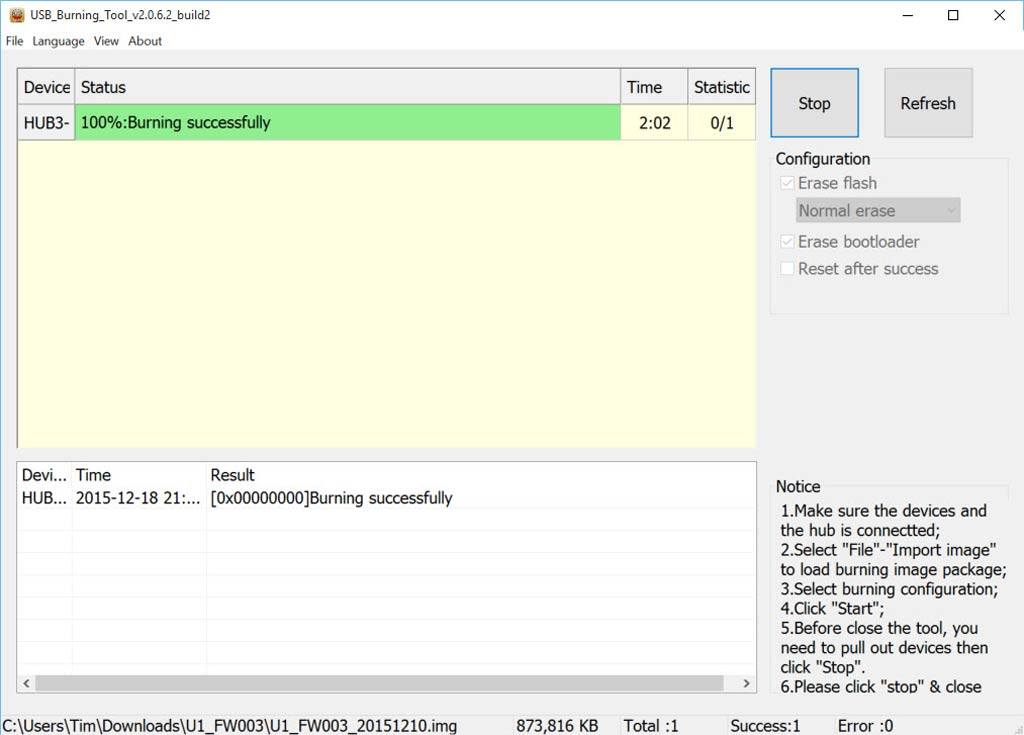
Once the status bar turns green and reads 100%, the process is done! As you can see, the entire thing took just over two minutes on my PC, but your mileage may vary.
Enjoy!
That’s all there is to update the firmware with a new image file using the Amlogic USB Burning Tool. The hardest part, in my experience, was getting my PC to recognize the TV box and install the correct drivers.
Just remember to keep your TV box connected and powered on during the installation process and you shouldn’t have any problems.
Have you used this tool to update your firmware? How did it go? Leave us a comment down below!


Simply wish to say your article is as surprising. The clearness in your post is just cool and i can assume you are an expert on this subject. Fine with your permission allow me to grab your feed to keep up to date with forthcoming post. Thanks a million and please keep up the gratifying work.|