Yes, you should be using a VPN to protect your online privacy and encrypt your data when you go online on your Android TV box!
It can prevent opportunists from piggybacking on your Netflix password, stop hackers from stealing your payment details, and prevent your internet provider from charging you a premium for streaming.
If you are using Kodi to expand your entertainment selection or torrenting content that is hard to find elsewhere, then you should most definitely be using a VPN to maintain your anonymity while engaging in these “grey area” activities.
IPVanish is a great VPN to use on an Android TV box, especially if you are running Kodi. It is affordable, effective, and will maintain high internet speeds for top-quality streaming.
Today we are going to take you through exactly how to install and use IPVanish VPN on an Android TV box with a complete step-by-step guide.
If you don’t already have an IPVanish account, you can sign up for a trial here.
What Is IPVanish VPN?
If you aren’t sure exactly what a VPN is, read our complete guide to VPNs and why you should be using one on your Android TV box here.
IPVanish, founded by Mudhook Marketing in 1999, is one of our top choice VPN services for Android TV box and Kodi for a number of reasons.
First, they are one of the most trusted and established VPN services on the market, and it is important to be able to trust the VPN that is managing your data.
Secondly, they offer some of the best VPN speeds on the market, so you aren’t going to be stuck looking at loading screens mid-stream just because you decide to protect your online privacy.
Third, IPVanish has been tested and found to successfully unlock both Netflix USA and BBC iPlayer UK. It is not true that all VPN services can get you access to these services outside of their regions, so this is a big plus for streamers.
Overall IPVanishis a very high spec VPN service. It offers:
- Access to more than 6,000 servers in 75+ countries
- Coverage up to five devices with a single subscription fee and no data limits
- Some of the fastest speeds for any VPN service
- Kill switch to protect against data leaks
- No logs policy so they are not storing any of your data
- Top-end 256-bit AES encryption
- User-friendly apps for all the major platforms, including Android devices
- 24/7 live chat and phone support
Finally, it is also highly affordable. Plans start from just $3.75 per month, and there is a 30-day free trial period for you to test whether it meets all of your needs.
How To Create An IPVanish VPN Account
Before you can get started with IPVanish on an Android TV box, you need to sign up for an account on the IPVanish website. This account will let you protect up to five devices at any time, so as well as protecting your Android TV box, you can protect your phone, computer, laptop, gaming console, or even just place the protection directly on your router.
To get started, head to the IPVanish website and click on the “Subscribe Now” button.
You will then be offered a selection of plans, based on whether you want to pay monthly or annually. Generally speaking, the longer you are willing to sign up for, the cheaper your package will be. You get the security of a 30-day money back guarantee.
You will then be asked to provide a contact email address and create a password for your IPVanish account. These are what you will use to activate your IPVanish protection on your various devices.
You will then be asked to select the all-important payment method. You can choose any of the major card services or PayPal. You will then of course need to complete your payment details (including billing address) and agree to the automatic renewal terms. Of course, you can cancel whenever you like, and you will receive an email notifying you before payment is taken for your automatic renewal.
Once you have provided all the relevant details and hit the pay button, the screen will notify you to check your email to verify and activate your IPVanish account. So, go to your inbox, find the email from IPVanish, and hit the “Confirm Email” button that appears in the email.
When you do this, you will be taken to a screen confirming your payment and subscription. It will also provide you with links to download the various apps that you can use to protect your devices.
How To Install The IPVanish App For Android On Your TV Box
I’m going to take you through how to install the Android IPVanish App on an Android TV box using the Ott TV box T95Z Plus to demonstrate, but the process is the same on pretty much all Android TV boxes and all Android devices.
It is a little different on the Amazon Fire TV and Amazon Fire Stick as you need to go through the Amazon App store. But you will find a complete tutorial on how to install the IPVanish Fire TV App here.
If you are looking to install IPVanish on the NVIDIA Shield TV box, you can also find a full guide for installation and optimizing settings here.
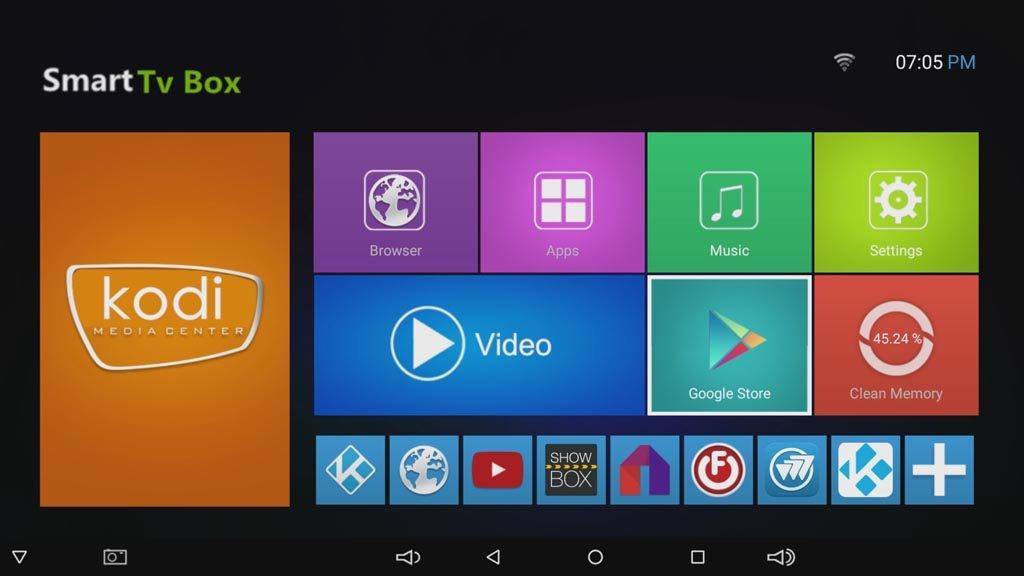
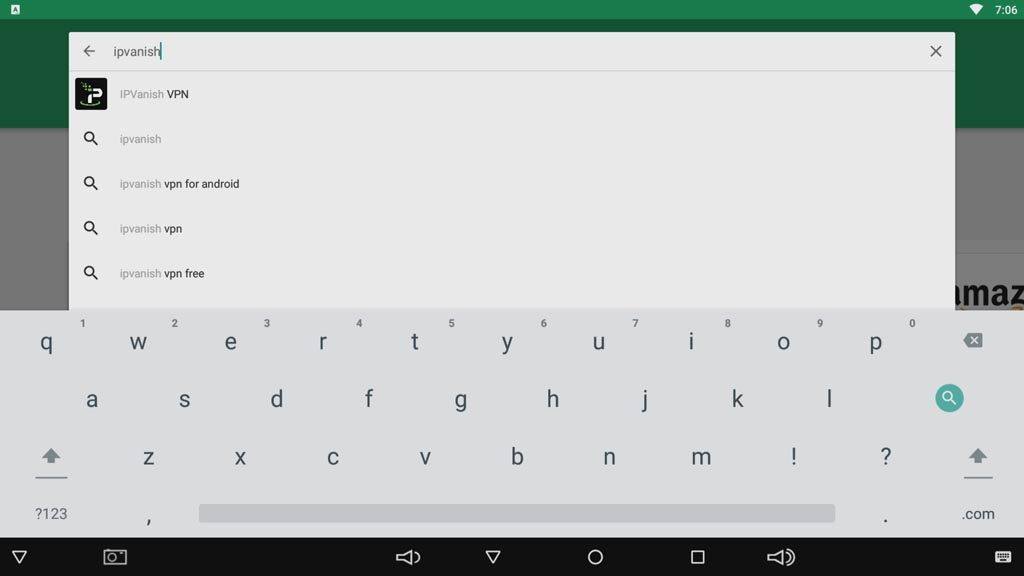
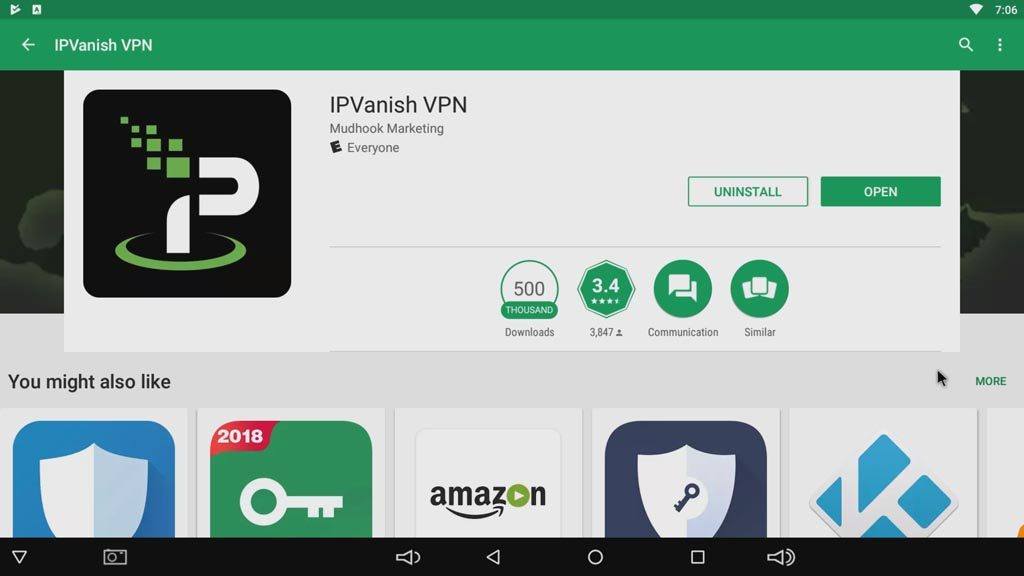
From the home screen on your Android TV box, go to the Google Play Store to get the IPVanish download started. To find it, just start typing IPVanish VPN and it should be the first search result that comes up.
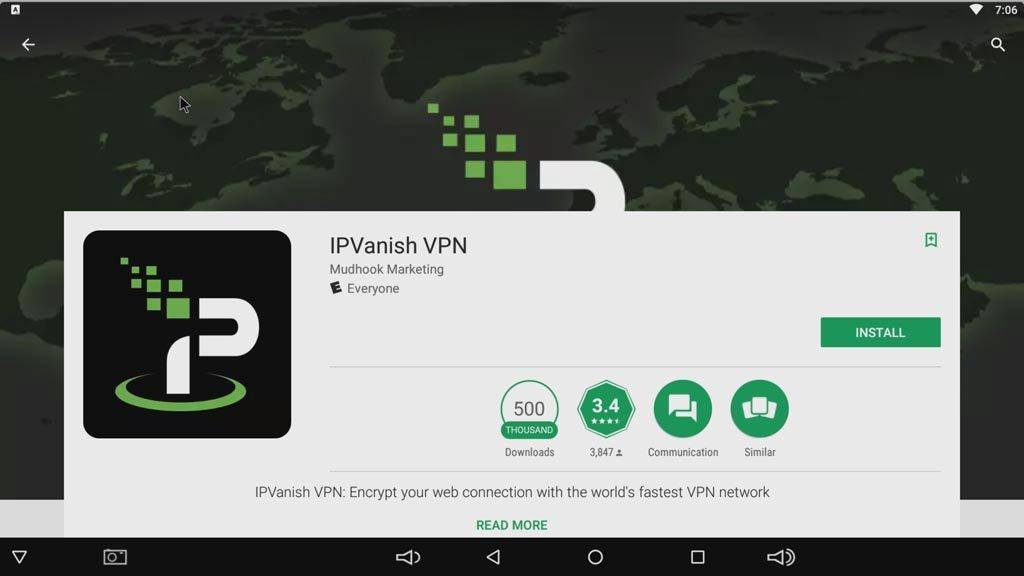
Once you click on the icon, the app detail page opens. Here you can see any comments or screenshots for the app. To install the IPVanish app for Android, simply click Install.
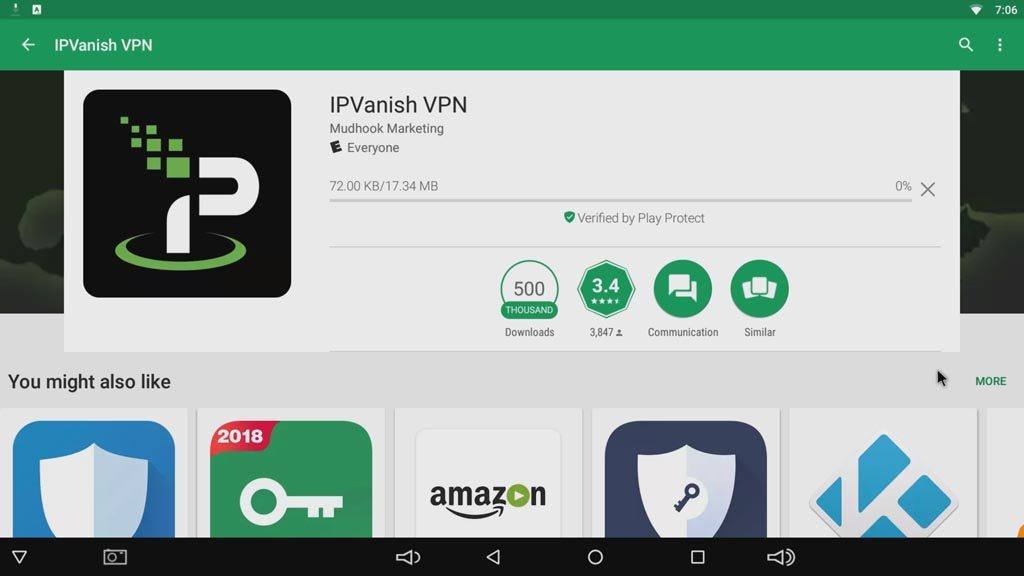
Once the download starts, you’ll see a progress bar where the Install button was. The file size is very small so the download should only take a few seconds, depending on your internet speed.
Once it finishes installing, you can open it directly from within the Google Play Store.
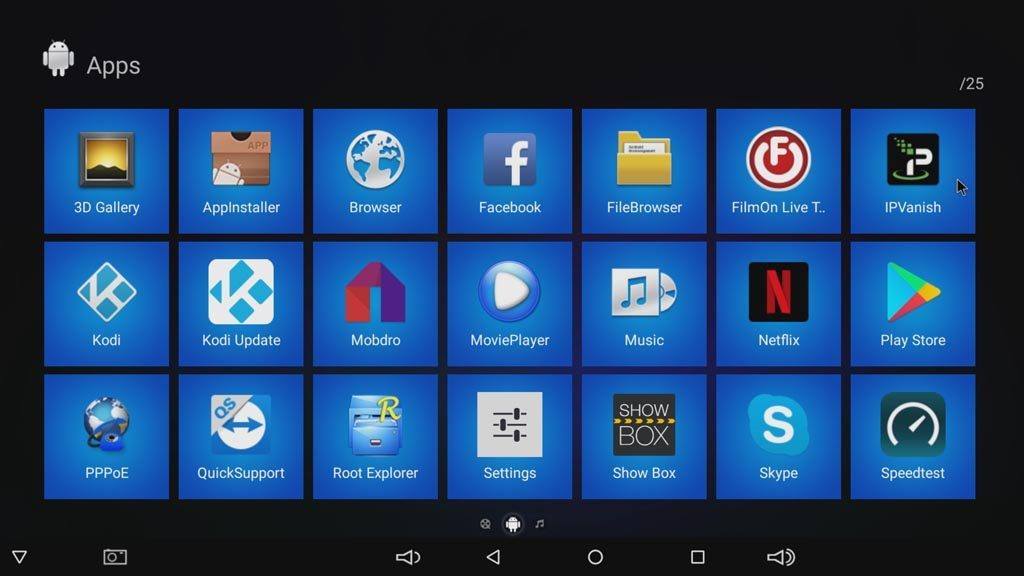
The app will also appear in your All Apps screen with the rest of your installed applications. In this example, you can find the icon on the top row, upper right-hand corner.
Once you open the app, you’ll be required to sign in the first time you launch the IPVanish app for Android. Use the account details that you obtained when you signed up for the app online earlier.
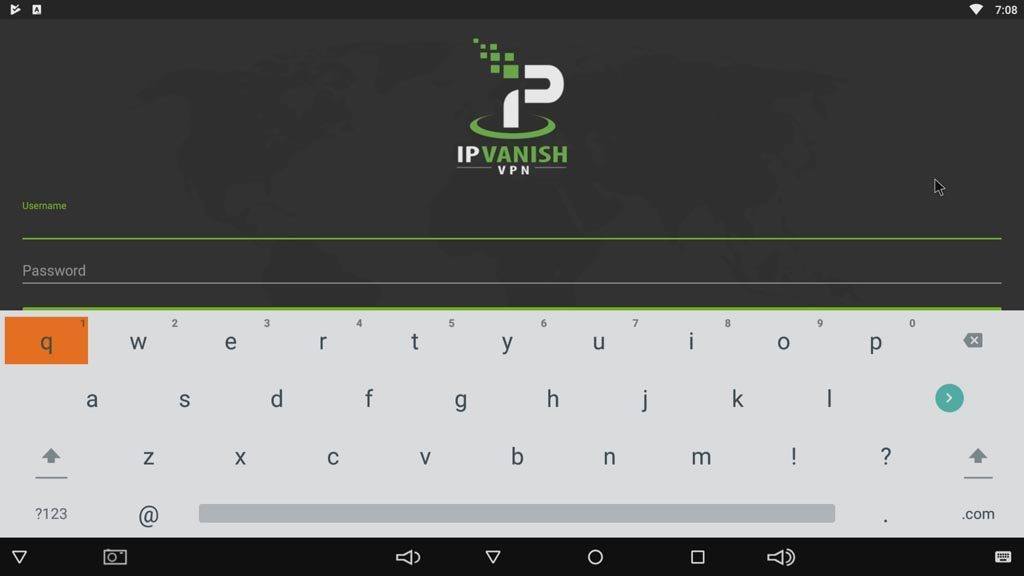
Go ahead and type in your IPVanish login here and you’re all set.
How to Setup IPVanish on Android
Now that you’re signed in and running IPVanish, let’s take a look around.
The first thing you’ll come across is the brief tutorial. Even if you’re familiar with how IPVanish works on Windows or other devices, it’s a good idea just to quickly run through it to help get you oriented with how this interface looks and acts.

In the Quick Connect Preferences, IPVanish will ask you to choose the geographic region you want to connect to. In most cases, it’s best to think of this like the country you want to connect to.
If you’ve already skipped ahead of either the tutorial or this guide, you’ve probably got a question forming right about now. IPVanish specifically calls out “Country and City” below. Don’t worry, I’ll get into that in a minute.

IPVanish will show you your current IP address (think of it as your computer’s online ID number) and where in the world you’re logging in from. Depending on the number of IP addresses in your region, your IP address can pinpoint your general location (to the country or city) or get very specific (small town).
If you’ve ever wondered how advertisers can pinpoint your location and serve up targeted ads based on where you are, your IP address is how they’re doing it.
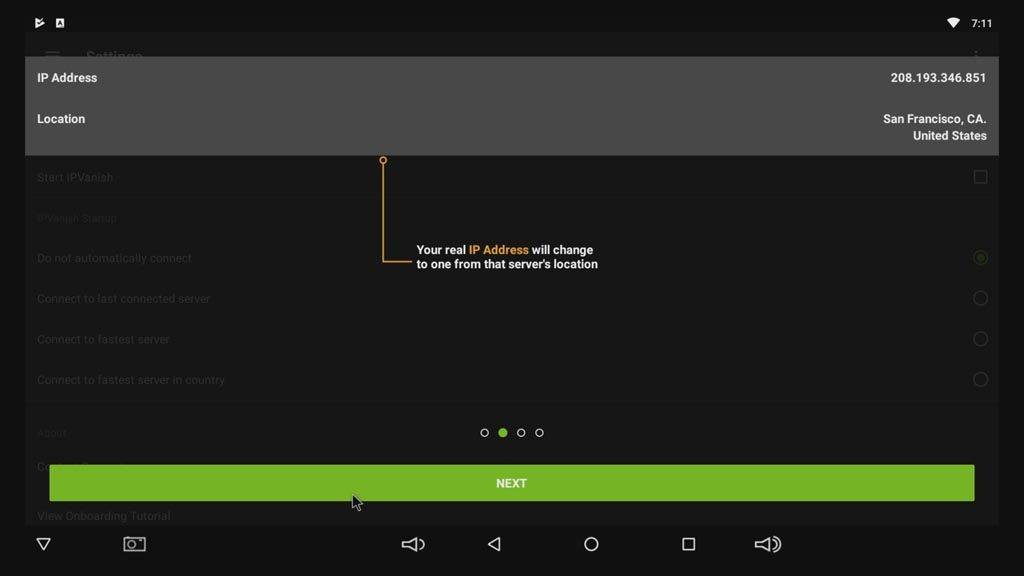
Here’s where I’ll answer that question you probably had from earlier. If you selected the region and it was “basically” the same as whicht country you want to connect to, then why would IPVanish ask you for the country or city again here?
Well, it depends on how big the region is and how many servers are available in that region. For smaller regions, they may only have one or two servers.
If you think about it, this makes sense. If you’re connecting to Lithuania, for example, how many servers do you really need to have there? One is probably plenty.
On the other hand, if you’re looking for US or Canadian servers, you’ve got a list of dozens of different cities to choose from, and each city has several servers.
Choosing the country or city here just narrows down your list of possibilities.
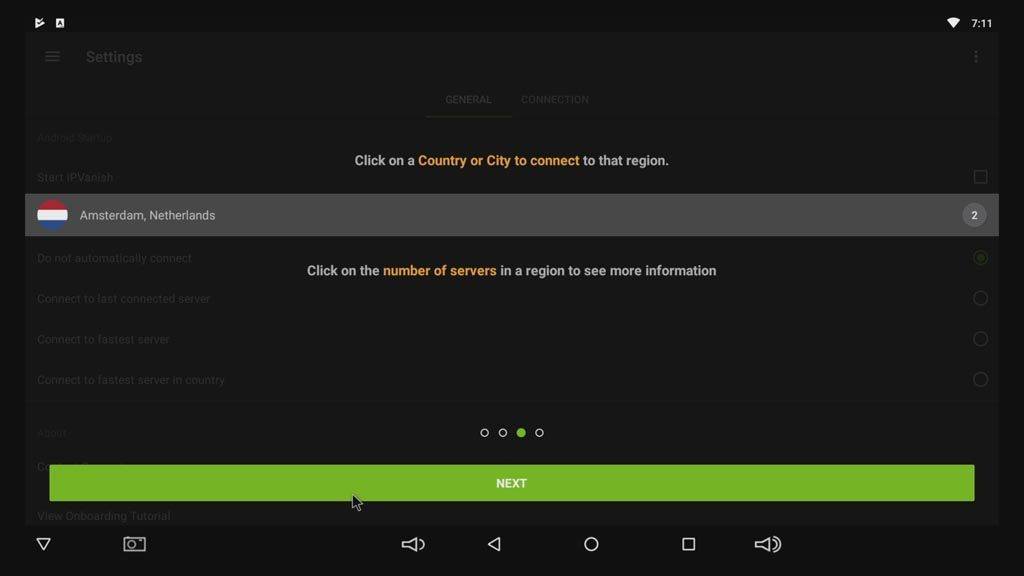
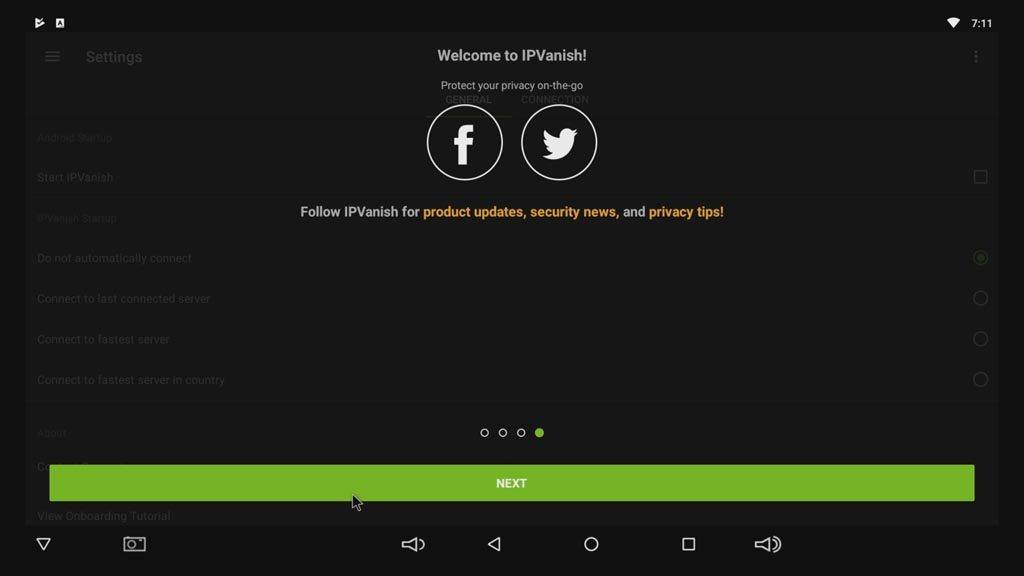
The last step of the tutorial is just showing you how to connect with IPVanish on social media channels. Nothing too exciting, but I included it for the sake of completeness.
So what does this look like when you’re using the IPVanish Android app?
Take a look.
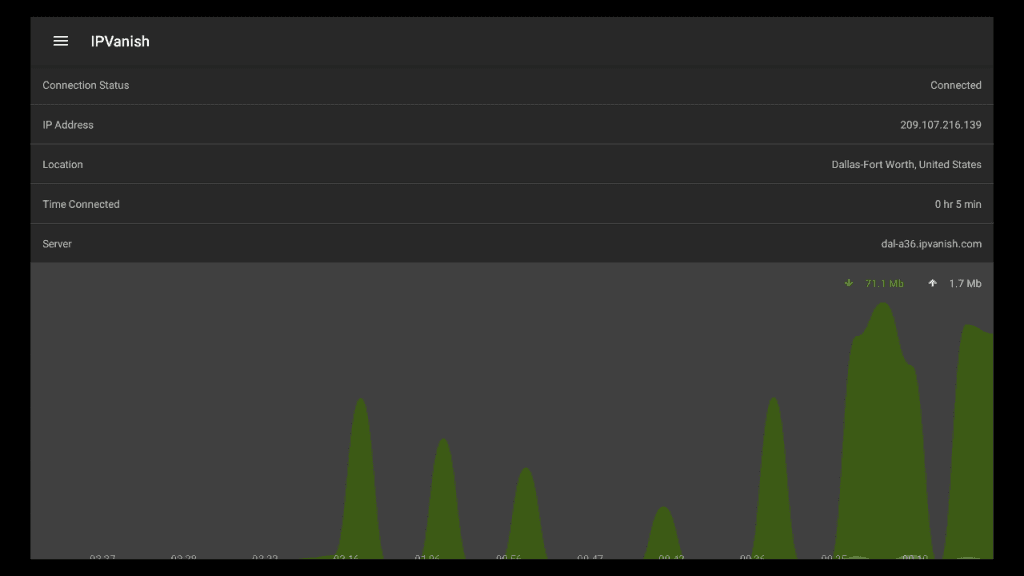
What I like about IPVanish is that it makes connecting to a VPN simple. It gives you only a few, intuitive options on the main screen (country, city, and server). But it gives you more configuration options on the Settings page to let you tweak your connections how you like them. Finally, there’s a live scrolling graph of how much data you’re using and what your internet speed is for both uploads and downloads.
FAQs
How can you get IPVanish for free?
IPVanish does not offer a free version of the VPN service. However, they do offer a 30-day money back guarantee so that you can cancel within 30 days if you are not happy with the service and receive a full refund. No specific reasons for cancellation are required.
How do you install IPVanish on Kodi?
IPVanish is a great VPN to use with Kodi because of the great speeds it provides. You do not need to install IPVanish with Kodi itself. Install IPVanish on your Android TV box, and make sure it’s running before you open Kodi, to ensure you’re protected while using the app and streaming from its add-ons.
Can I use IPVanish for Kodi only on my TV box?
While we recommend that you use a VPN no matter what application you are using on your TV box, you might want to boost your internet speeds by using the VPN with Kodi, but not when using relatively “safe” applications such as YouTube. IPVanish does allow for split tunneling, so you can choose which of your apps are protected by the VPN and which aren’t. You will find the split tunneling options in the Settings tab. When you open it, it will ask you to select which apps you would like to protect with the VPN, and simply leave the apps that you don’t feel need protection unticked.
The Verdict
IPVanish VPN, made by Mudhook Marketing, is one of the best VPN services for Android TV, and their Android app is easy to download, install, and use on any Android TV box. While the process is highly intuitive, if you need a bit of extra help, follow our complete step-by-step guide.
If you haven’t already, check out the promotions and sign up for an IPVanish account.


Hi Tim,
I always look forward to your reviews. So glad you did this one for iPVanish. I was having trouble installing this VPN on my SkyStream X4 and this guide made it a breeze to install!
Thanks again!
You’re welcome, Steve. Glad you liked it!
I agree IPVanish is best but don’t get discouraged if your internet speeds doo like 60 mbps if they do you need to choose a me server or city etc. My friends all have it and they only lose 5 mbps everyone of them thats it. I had a 3 moth subscription and I kept getting 30 mbps drops so I cancelled but I’m going to purchase again and play with it or you can e even call there tech service and they will help you find the best server city etc. You should only drop 5 mbps on your download speeds. I get 178 mbps so it wouldn’t affect me at all I just need to figure out the right choice for my device. And I can’t remember how many devices are covered but you can find out with a quick search and you can find 10% discount codes all the time. Good article especially now you ISP can record and sell what you are looking at etc. I’m not working right now due to injury but I work for a PD and I look up all drugs I can and try to find out about any new drugs out etc so my ISP might find that odd but I try try to do that at work during spare time but I’m off work on a year long injury which may turn into into two years so I try to keep up with everything I can on my own ISP and don’t want them even knowing if I’m looking at the Disney channel to be honest. Privacy is going away faster and faster so you need a good VPN to protect yourself. Luckily my phone came with a app that has a VPN as well so its on at all times. Thanks again for the review. There are a couple good Vons even free if you have enough speed but I still think IPVanish is the best and more and more people are starting to use it or switching over to it. Its a great app, I just didn’t have the time to go fool with it and figure it out so I canceled it which now I see was a big mistake so I’m going to go back to them. They provide great service and customer service.
Interesting article and I have been thinking of giving a VPN a try, but some folks that i have spoke with talk about how much it slows things down… that is understood but still a concern. One nice thing about this service is the ability to have 5 units running at the same time. I have 3 Minix boxes that would be nice to hook up and other devices. I’d like to find someone running the service on a Minix U1 (those are what we have) and see what the performance is like… from what this shows is that each device is connected independently… with out having a special router. Also, Do you know if Amazon Prime Video would work with this in line? Thanks again for the article..
Dave
How do I do the ipVanish updates?